Milestone anniversaries may always be commemorated. There must be a get-together with plenty of laughter, good company, delicious food, lively music, passionate embraces, and delicious cake. The latter is what should be prioritized the most while planning an anniversary.
If you want to wow your guests and your significant other, you may skip purchasing a cake from the bakery and make one instead.
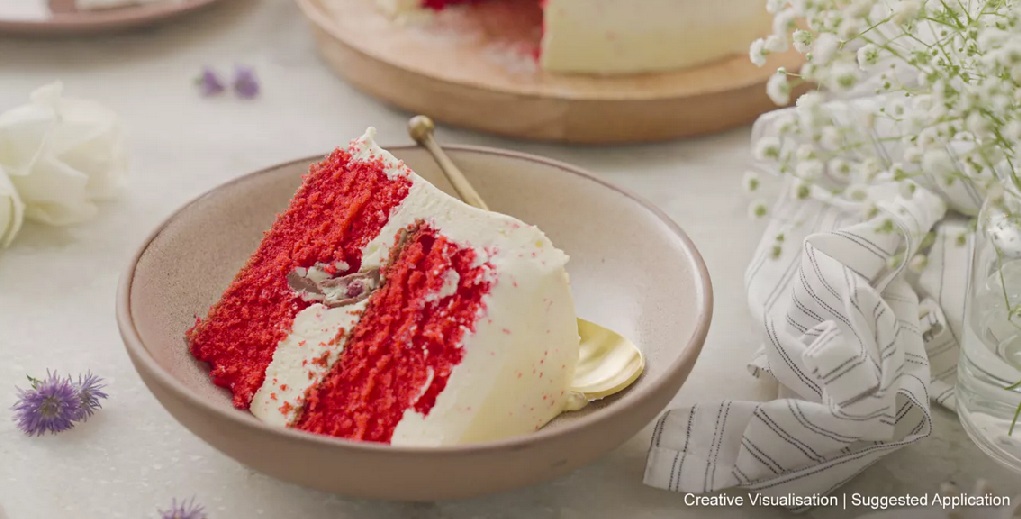
You may assume that making an anniversary cake from scratch is impossible since you lack the skills to create a professional-looking dessert. Here’s a recipe for a quick and easy cake that’s perfect for sharing love. The handmade anniversary cake recipe we are presenting today is a chocolate cake with cherries on top.
Tips for Making a Homemade Anniversary Cake
- The first step is the most fundamental: preheating the oven to 350 degrees Fahrenheit.
- Make sure you mix the butter and sugar for at least three to five minutes to get a smooth consistency.
- Combine semisweet chocolate and milk in a saucepan. Make sure the chocolate melts and the milk is well blended by stirring it on medium heat.
- Combine the baking powder, salt, and flour in a bowl.
- The second-step mixture should be finished by adding egg yolks and vanilla. Mix it on medium speed using a mixer.
- Half of the chocolate/milk combination should be added to the butter mixture, alternating with the flour.
- Nonstick cooking spray should be used to prepare cake pans.
- Bake the two cakes for around 25 minutes after you’ve poured the cake batter into the pans.
- When the cake is made baking, take it out of the oven and set it on a wire rack to cool.
- Beat the powdered sugar, meringue powder, cream of tartar, and 1/3 cup water together on low speed until smooth and creamy. To get stiff peaks, beat on high for 7-10 minutes. (Always maintain a moist towel over the icing to prevent it from drying. Repetition of high-velocity beating may be required to restore texture later. If you plan on using candy roses or edible flowers from the shop to embellish, you’ll only need to make half of the icing recipe.
- Cut the frosting in half and put half to one side. Use a dot of frosting to secure the roses to the top of the cake in the positions shown in the accompanying illustration. You may make flowers out of icing by cutting a hole in the corner of a pastry or plastic bag, inserting a round tip no. 12, and filling the bag to the top. Pipe a domed mound of icing or frosting onto the flower nail while holding the bag upright.
- Using icing and a No. 103 petal tip, hold the pastry bag so that the narrow end is farther from the rose tip. Turn the nail to pipe a row of three upright petals. Begin directing a second row of petals, holding the slender tip end at a sharper angle. To create the third row, repeat the process from the second.
- To take the rose from the nail and place it on the waxed paper to dry, gently slip the ends of the scissors beneath the rose. If you want to create 20 or 22 flowers, keep going with the leftover frosting. (Flowers may be prepared in advance and kept fresh for weeks in a vase of water.)
- You should save half a cup of the frosting you saved for later. Pipe at least ten 3/4-inch square “25”s using the remaining saved icing with a round tip #4, linking the two and five at the base of each.
- To make a cake topper, tape waxed paper and a design to your counter. Finish the edge tracing and wait 10 minutes for it to dry. Add the remaining 2–3 tablespoons of water to the 1/2 cup of icing you set aside and whisk until it reaches the desired consistency. Using the same tip, fill in the outline of the cake topper with thinned icing. Keep until ready to use by letting it dry out fully and then storing it in an airtight container.
- Set aside two greased and floured 12-inch round baking pans. Mix the sugar and shortening together in a bowl. To the mixture, gradually add the eggs, mixing thoroughly between additions. Mix the flour, baking powder, and salt, then add it and the milk to the creamed mixture in three branches. As needed, mix in more cake ingredients to get the desired taste. Place in the pans you have already prepared. To test doneness, stick a toothpick into the middle and remove it cleanly after 50 to 55 minutes in a preheated 350 F oven. Allow cooling in the pans for 10 minutes before transferring to wire cooling racks to finish cooling.
- Cream the butter, shortening, and powdered sugar in a large bowl. Blend in the milk, vanilla, and salt and beat until the mixture is bubbly.
- When the cakes have cooled, slice them in half horizontally. Put the bottom layer on the serving dish and cover it with icing. Fill the remaining space with the toppings of your choosing (about 3/4 cup). Frost the bottom of the next cake layer and arrange it, frosted side down, on top of the filling. Layers should be done twice. Put the last layer of cake on top.
- Keep aside three cups of icing. Color the remaining frosting; save 1/2 cup for later. Apply leftover colored frosting to the cake’s top and sides. Fill a plastic or pastry bag with a round tip number 4 with the remaining colored frosting. The cake topper’s text and outline will be piped. Leave to air dry.
- Fill a pastry bag with a star tip #21 with the white frosting you set aside. Decorate the outside of the cake with eight rows of piping. Use the same piping tip to create a shell border around the perimeter of the cake.
- Put the flowers on top of the columns and the numbers between them using little dots of icing just before serving. Place the cake topper in the middle of the cake and keep it there while you pipe two huge globs of icing on each side. Pipe leaves using leaf tip #69 around the rose cluster.
Conclusion
The baked chocolate cherry anniversary cake is made, and it smells amazing! When you do not have much time to prepare an anniversary cake, purchasing one is best.


